This is the photo log of our boat build. A custom design schooner loosely based upon Jim Michalek's Caprice. We owned that boat for awhile and spent several months cruising down the Arkansas River.
Specifications:
36.5 ft. loa
Draft 12 inches.
Two massive leeboards.
Schooner.
Sails: GIS sail and Custom Sail, both from Really Simple Sails
20 HP Suzuki outboard in a well.
Kickup rudder
We bought all of our materials from Houston Hardwoods. Meranti marine plywood and cypress. We also bought that trailer the same day. It's a 40 ft. long helicopter trailer and we'll build the boat on it. After we got back to the shop and unloaded the trailer, we moved it into the shop and took the wheels off it so we could have a sturdy, level work platform.

The bottom. This is the underside and after we get the fiberglass on we'll flip it over. It is two 1/2 inch layers of meranti plywood, bonded together.

Glassed and ready to flip.

Getting the bulkheads on. This is in the forepeak where our bed will be.


We salvaged a discarded mast from a Tayana 37. There was a section of rot but the rest still has a lot of good wood. We believe it is Sitka Spruce. We can use it for making our own spars.


The outboard arrived.

The motor well and the transom.


Stringers are on.

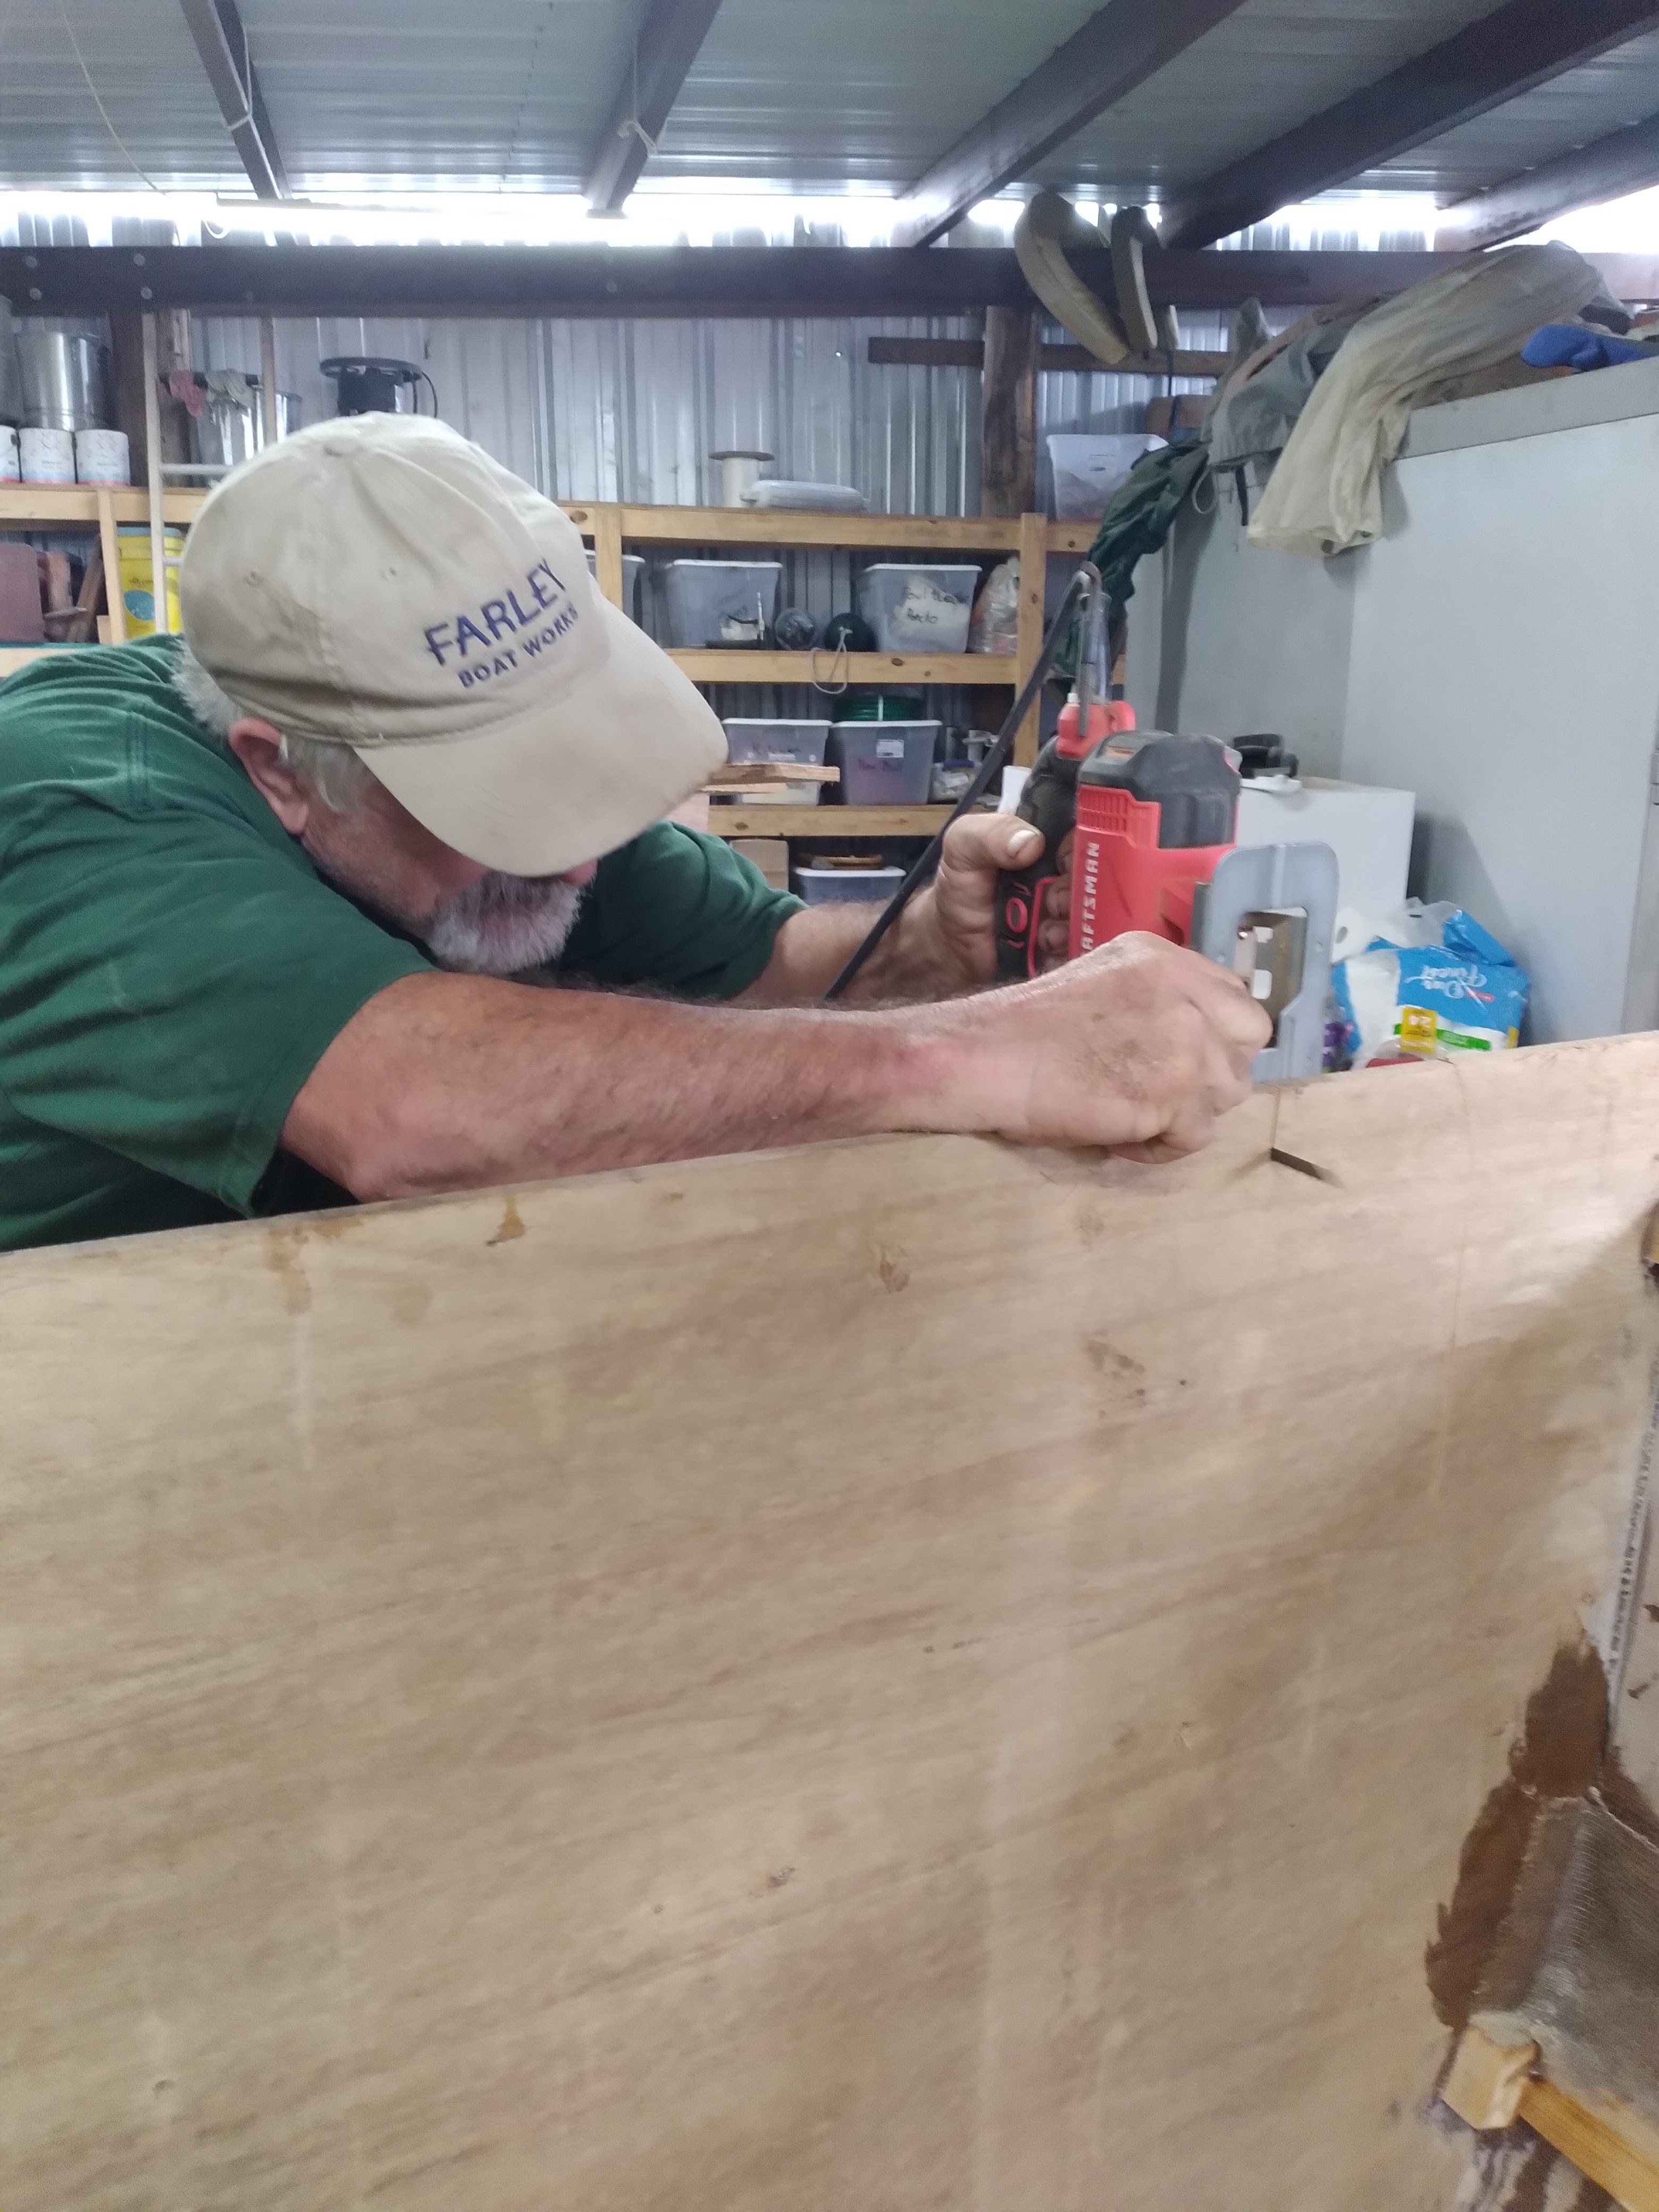
After each piece was fitted, we removed it and cut out the meranti plywood plank. Then we screwed it into place, rechecked the fit, marked the areas to be glued, removed it, and applied thickened epoxy to those areas. We then attached it using screws and clamps to hold it in place. The screws would be removed the following day.

Chris, sitting in the Thinking Chair.

The first plank is on. We started at the stern and moved forward.y The bottom row of planking is 1/2 inch meranti. The second and third rows are 3/8 inch meranti.

Our friends, Stan and Bride Roberts, came by to lend a hand with planking for a day.


Planking going forward became more difficult. Chris spent a lot of time working with the pattern piece trying to get the curve right. After some time in the Thinking Chair, he determined we needed to widen the bottom at this section of the bow. This is in the area under the forepeak where our bed will be. Yay, we'll have a few more inches of underbed storage.

This is the final plank for the first row.


Planking continued for the next two months. We took some time off for the Texas200 plus we maintained a steady schedule at our "day job."
Our friend John Goodman offered to come help for a few days and we gladly accepted. With his help, on July 21, we set the Whiskey Plank.

You can really get an idea of the size of the boat in this photo. Note the exhausted boat builders on the right. Even Gus the Dog is exhausted. The summer heat alone will suck the life right out of you and our metal shop becomes an oven.

Our friend Gordo Barcomb is putting the leeboards together for us in exchange for some plumbing work we did for him. I think we got the better deal. We cut out all the pieces, numbered them, and delivered them to him. Somehow, we missed a piece or two. He noticed it wasn't lining up as it should and, after a quick phone call to confirm, made the correction and cut and added the missing pieces. We have such great boatbuilding friends!
He sent this picture to us of the first one before shaping and sanding. It is massive and he said it takes two people to lift it. We'll use a block and tackle to mount it. It is made of Southern yellow pine and is held together with TiteBond glue and screws. After it is finished, it will be glassed.


Measuring for galley framework.

Fillets on the seams.


Gus likes the new chairs we got from West Marine.

I needed to divide the storage space under the setees so it wasn't one big area with stuff sliding around and getting mixed up. I used a hot glue gun to hold the partition in place while applying the fillet. Just a few drops of glue here and there did the trick. This is a storage under the setees.

Chris working on setees.

Prep for installing caprail:

The view from the stern. You can see the newly installed caprail.

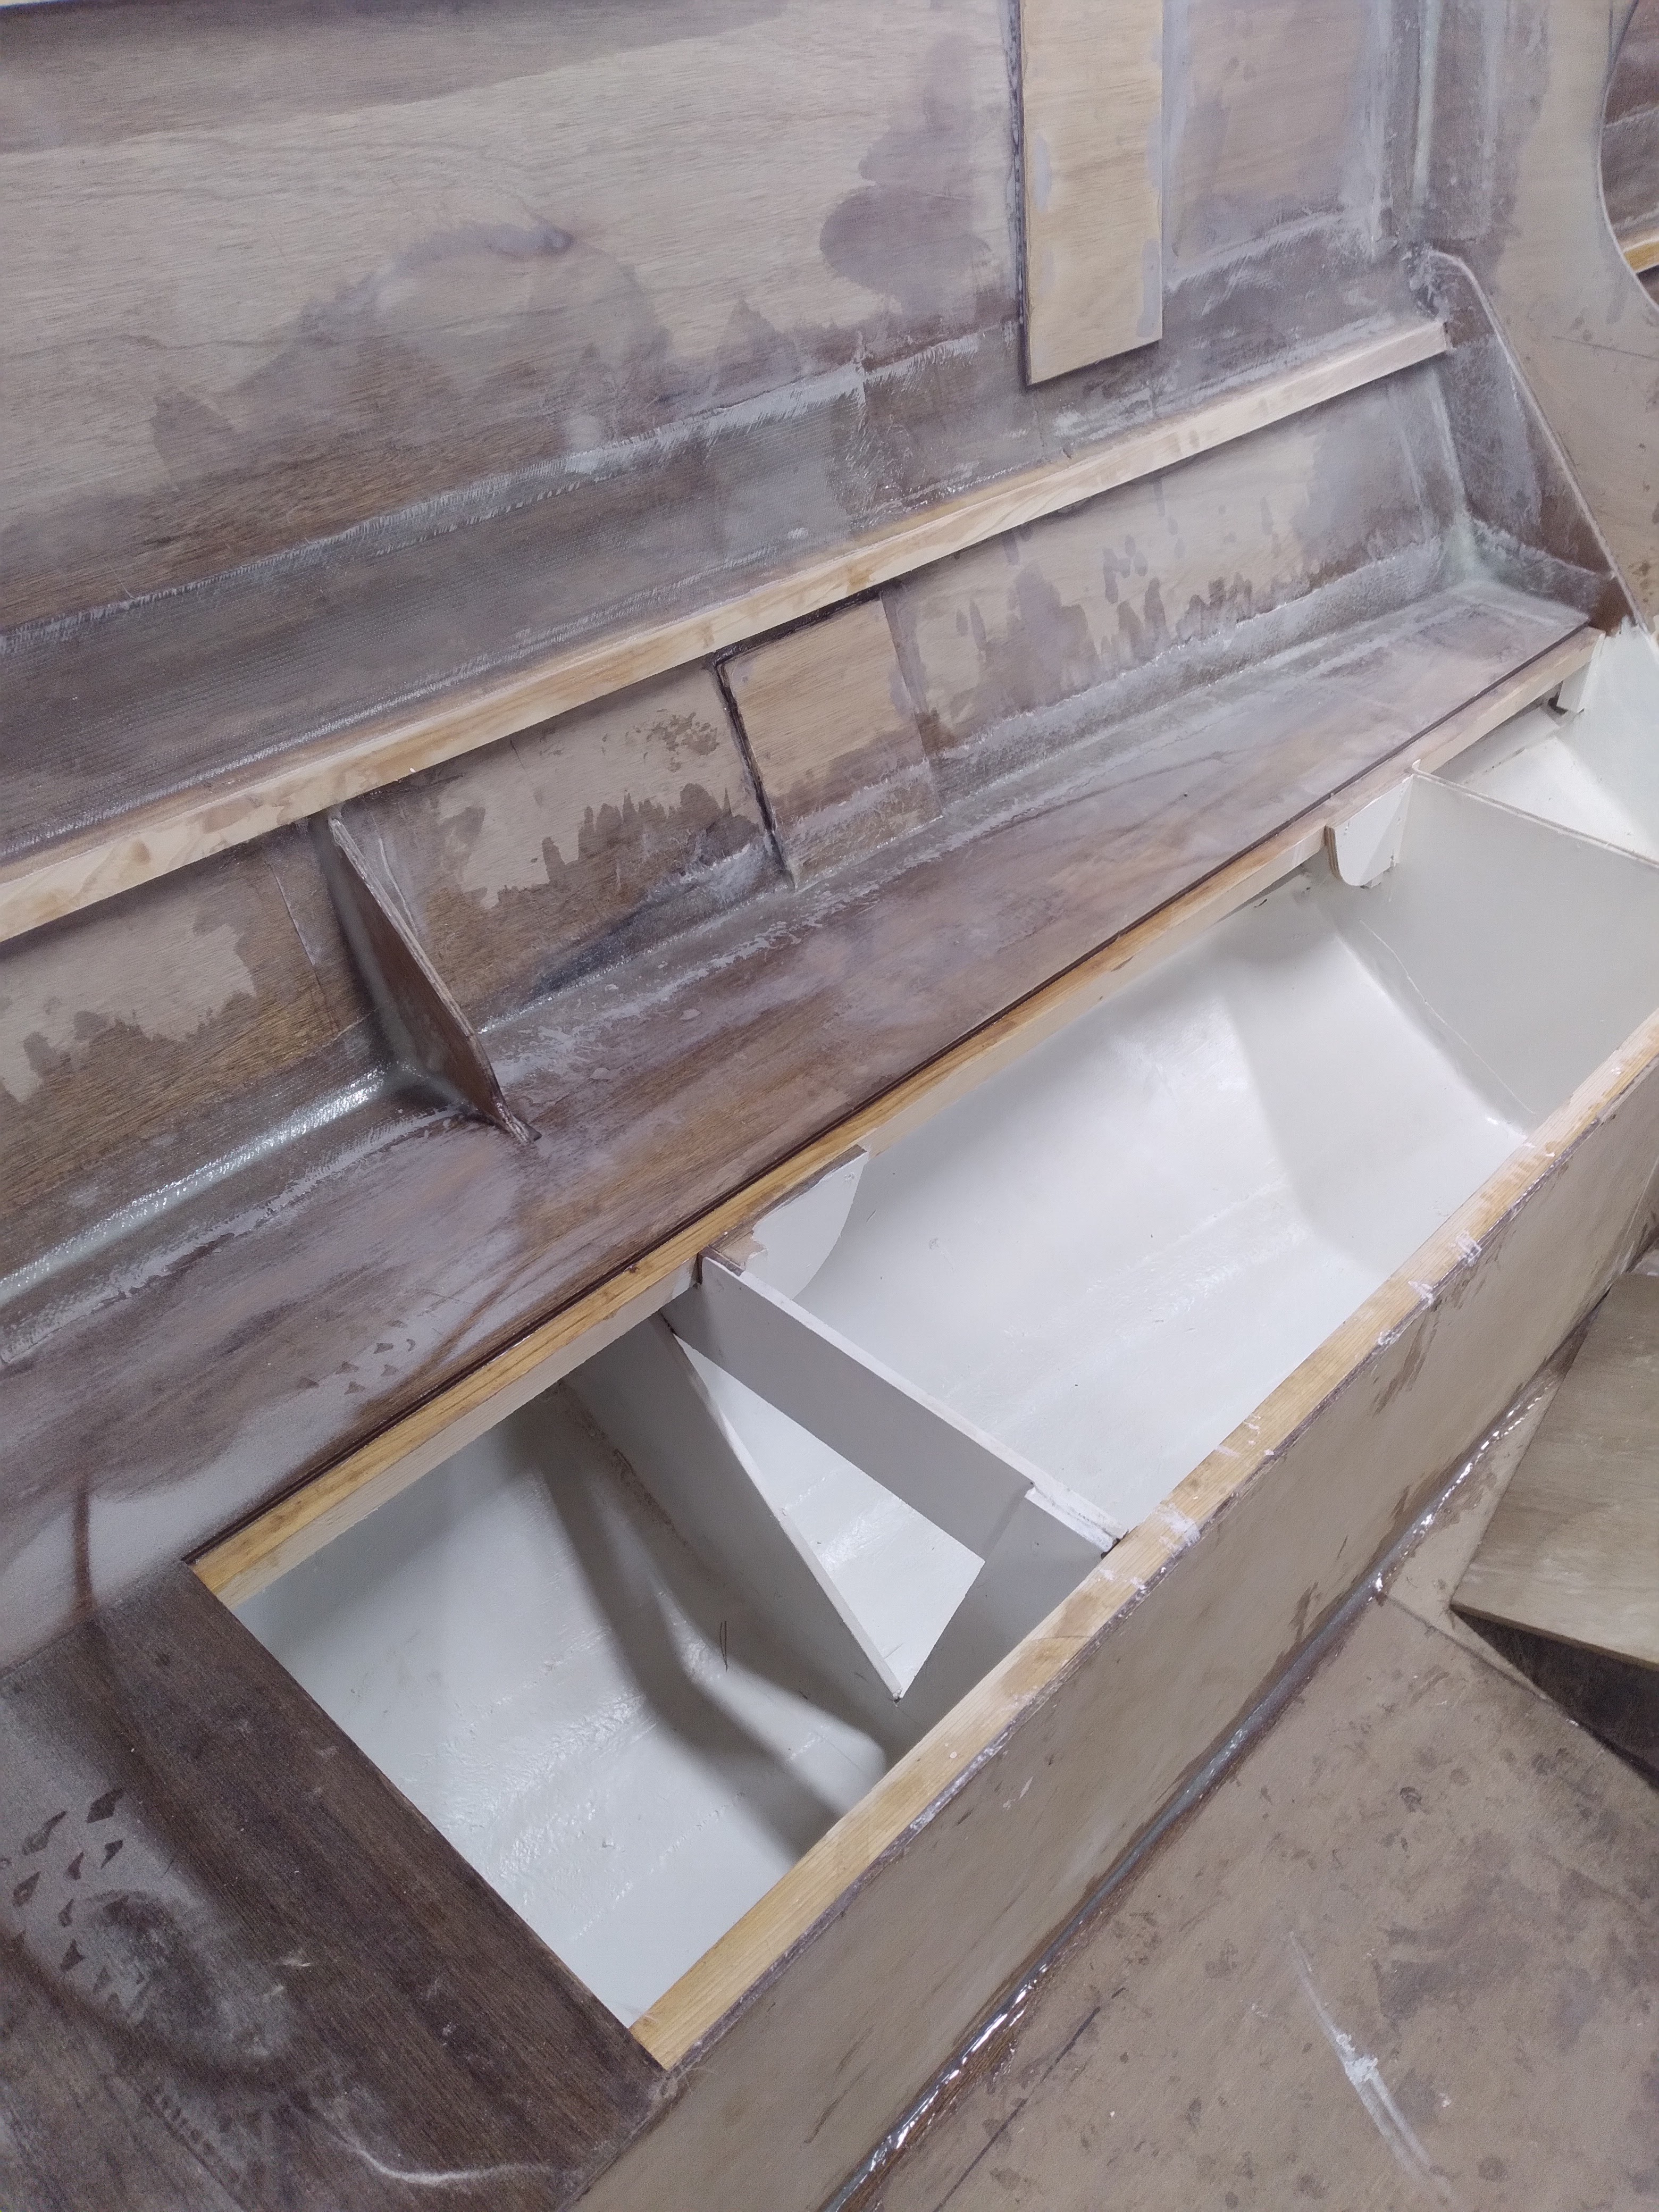
Storage Under Cockpit Floor:
Fillets, fillets, and more fillets. Good thing I like making fillets. This area I'm working on will be under the cockpit floor. Access to it is from inside the cabin through that opening at the bottom of the picture. I suppose we might call this area the garage since it will have our holding tank, tools, water hose, and other miscellaneous things we won't need on a frequent basis.
Note: It was only about 60 degrees. The hat and long sleeves are to keep me out of the epoxy.


This picture shows the completed storage compartment. After I got all the fillets done, I painted it and covered it with plastic before we worked on the cockpit floor. Only a few drops of epoxy succeeded in getting through to the fresh paint.

Completed cockpit floor:
2 layers of 1/4" meranti covered in fiberglass cloth. After it's painted, we'll cover it with something, either nonskid or some flooring materials we've been looking at online.

Anchor Locker:
After two full days, all the seams in the anchor locker are filleted and all the raw wood is coated in epoxy.

That anchor locker was tough to do. I lost a few chunks of hair to the epoxy but at least I had proof that it was curing. I had to practically hang upside down to get to the lower parts. That's why Chris was happy for me to do it since I'm more bendy than he is. I was so relieved when I finished.
Sanding is an itchy business


The back section of the seat tops is glued.

Almost ready for the hinged seat tops to go on.
Looking forward at the v-berth. Much sanding happened today. Still not done sanding.